So, you’ve got some grainy, low-res footage that looks like it was shot with a potato. Maybe it’s an old family video, a project you filmed before you had decent gear, or something you downloaded that didn’t quite meet your quality standards. Whatever the case, AI is here to work its magic and turn your pixelated disaster into a crisp, high-definition masterpiece.
Welcome to the age of AI video enhancement, where deep learning models can upscale, de-noise, and add clarity to your footage, all while you sip your coffee and marvel at how far technology has come. Let’s break it down.
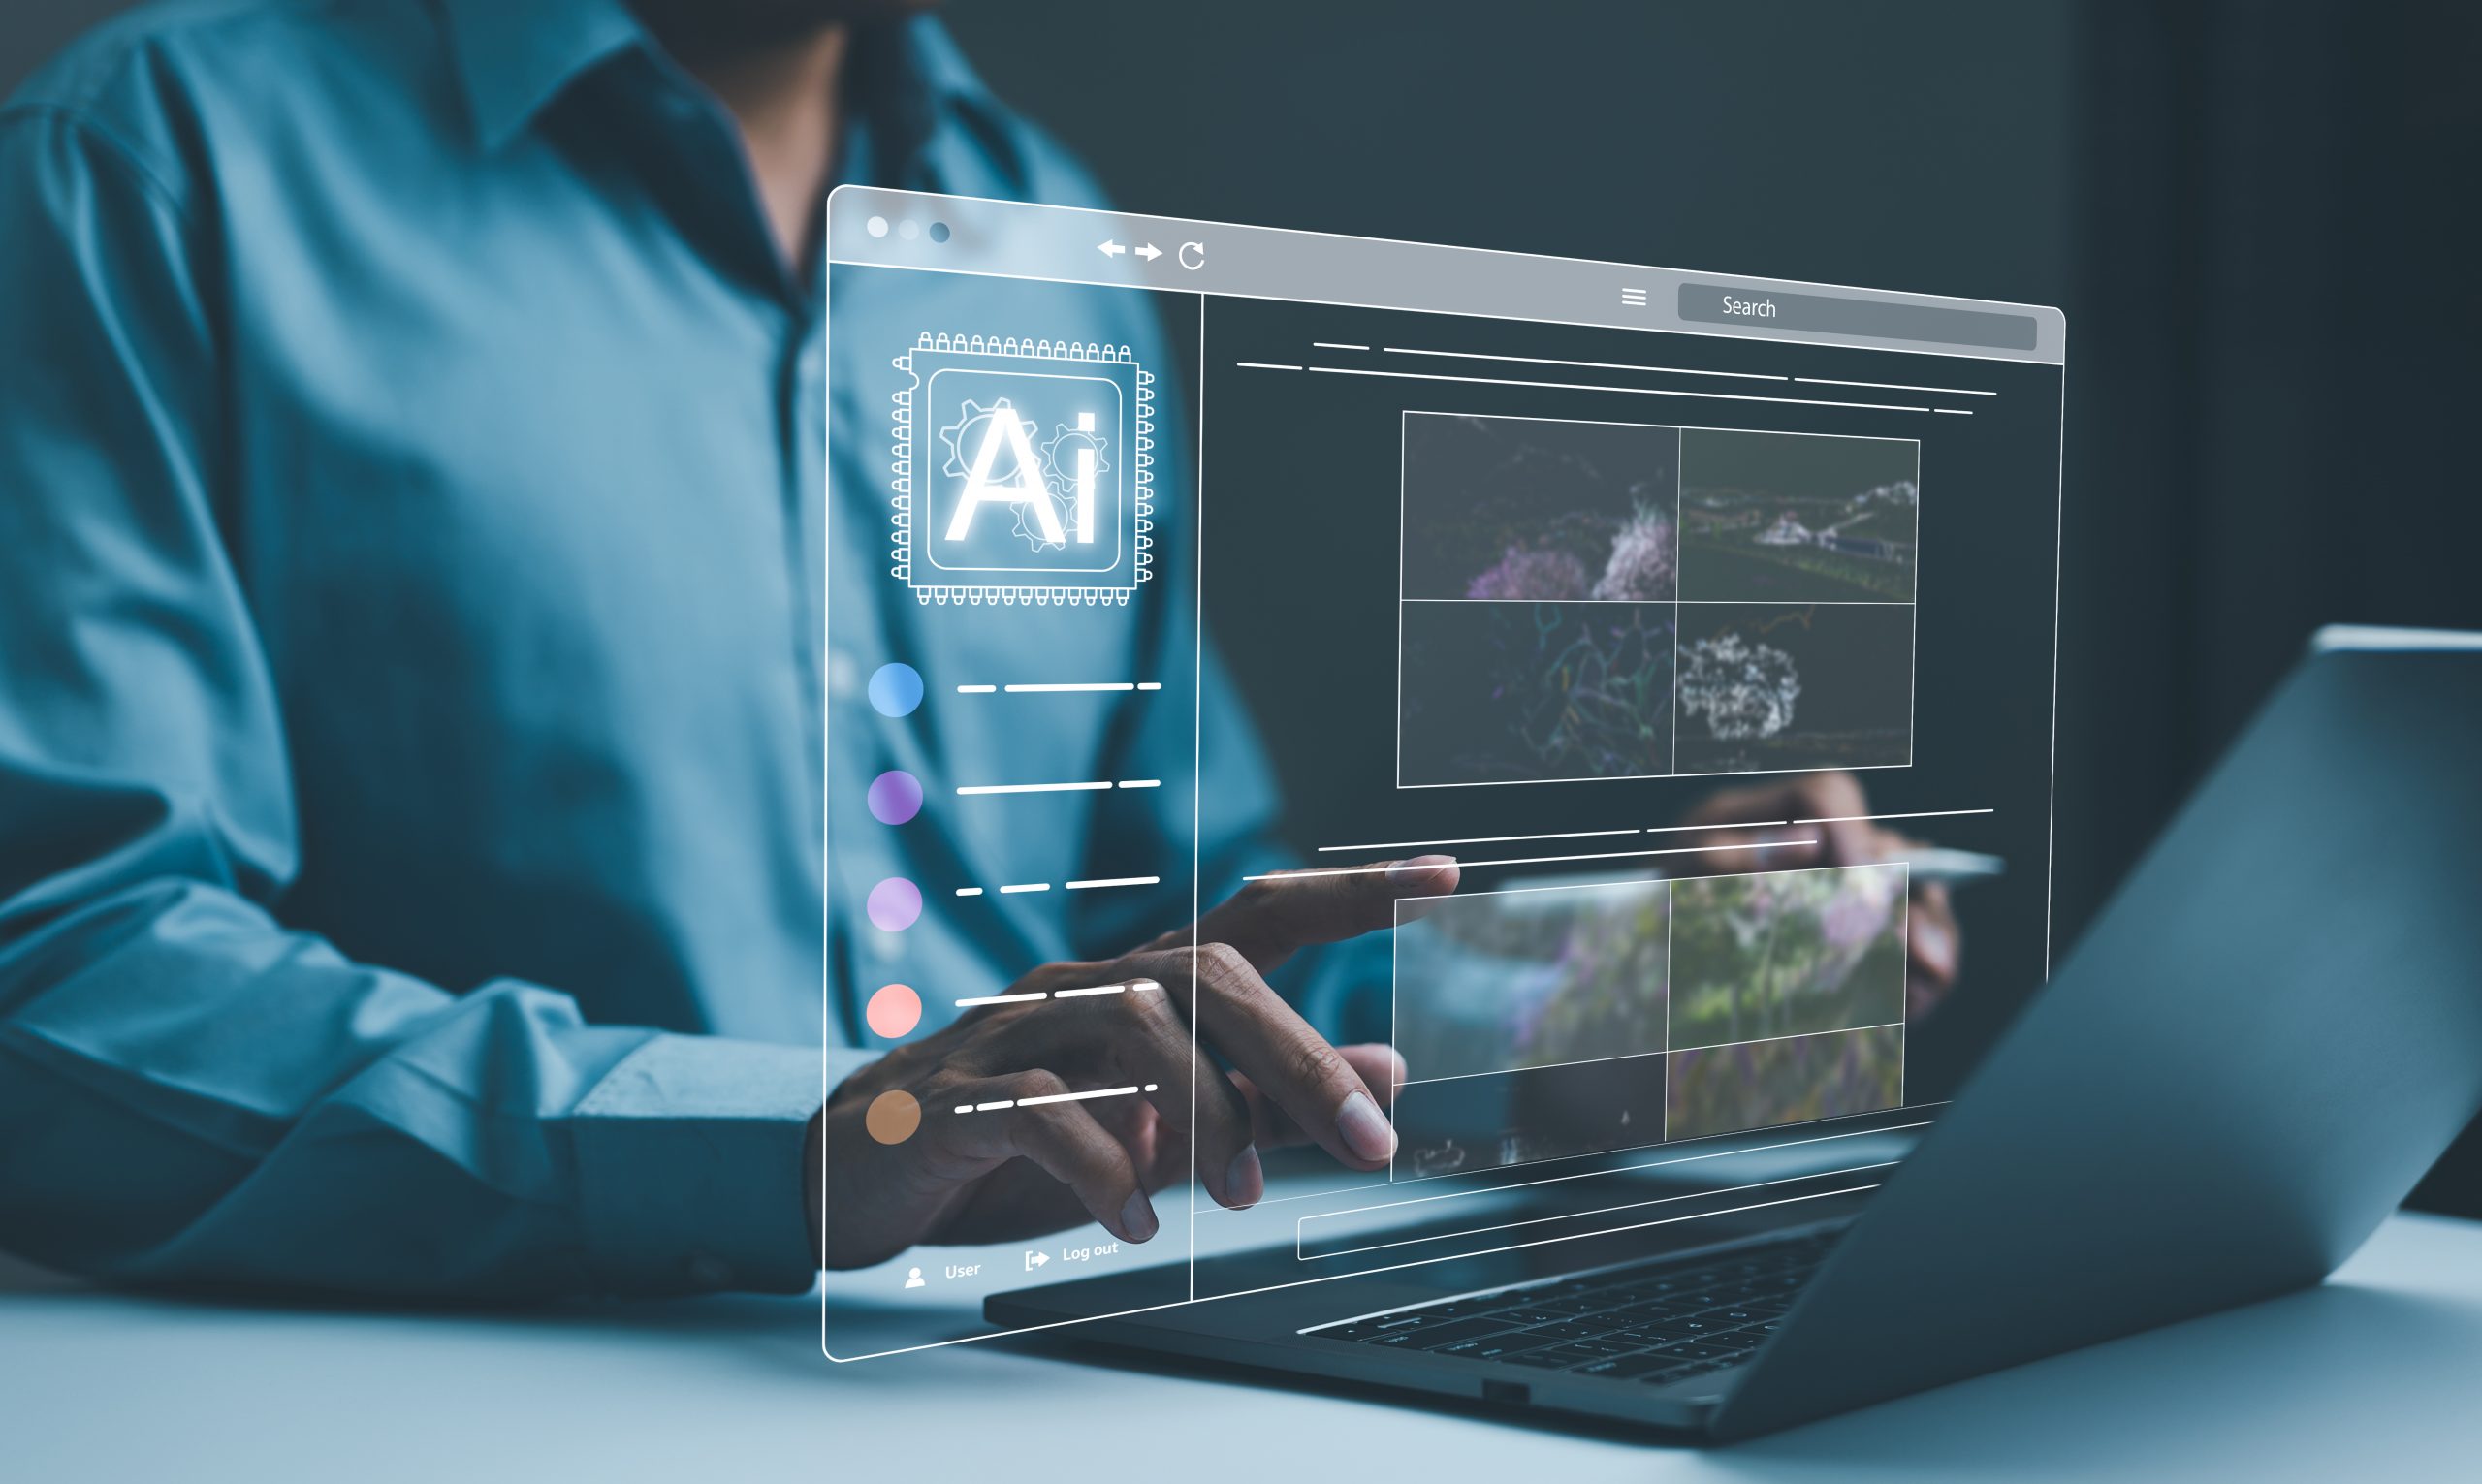
AI Video Enhancement: The Magic Behind the Curtain
AI video enhancement is basically deep learning sorcery. These algorithms are trained on massive datasets, learning how images should look by analyzing patterns, textures, and even missing details. The result? AI takes your sad, blurry video and makes it sharper, clearer, and more cinematic—all without you needing to understand a single thing about neural networks.
Imagine this: You dig up an old VHS tape of your childhood, pop it into a digitizer, and it looks… well, exactly how you remember it. Fuzzy, washed-out, and barely watchable. AI can take that footage, study the surrounding pixels, and intelligently fill in the gaps, effectively giving your nostalgia a 4K facelift.
Still skeptical? Here’s what AI can do for your video quality:
- Resolution Boosting: AI can upscale videos from sad SD to glorious HD, 4K, 8K, or even 16K if you’re feeling fancy.
- Noise Reduction: Those weird visual artifacts and graininess? AI smooths them out like a digital exfoliant.
- Color Correction: It can adjust color balance, contrast, and even colorize black-and-white footage like it’s 2025 and we’re living in a sci-fi movie.
- Frame Rate Conversion: AI can smooth out choppy frame rates, making everything look cleaner and more professional.
- Facial Enhancement: Need to sharpen up a talking head in an interview? AI has your back, bringing out details without turning your subject into an alien.
Now that you’re sold on the possibilities, let’s get to the how of it all.
How to Use AI to Improve Your Video Quality
Step 1: Pick Your AI Weapon of Choice
Not all AI video enhancers are created equal. Some specialize in high-res upscaling, while others focus on noise reduction or facial detail refinement. Here are a few solid options:
- PowerDirector: A well-rounded choice for those who want AI-powered tools but don’t want to spend hours figuring them out.
- Topaz Video AI: If you need serious upscaling or super slow-mo, this one’s for you.
- AVCLabs Video Enhancer AI: Excellent at recognizing and sharpening facial details, perfect for interviews or portrait-heavy footage.
- Media.io Video Enhancer: A browser-based tool that can upscale your video to 4K and remove noise without needing a NASA-level computer setup.
Choose the one that fits your needs and budget!.
Step 2: Upload Your Video
Most AI tools make this easy—just drag and drop your video into the software. Some cloud-based tools even let you upload directly from your phone or computer without needing to install anything (a godsend for those of us who hate software bloat).
Step 3: Tweak the Enhancement Settings
Here’s where the real magic happens. Depending on your tool, you’ll get different enhancement options. Play around and see what works best for your footage.
- Upscaling: Choose your desired resolution (4K, 8K, etc.)
- Noise Reduction: Get rid of that ugly graininess.
- Color Correction: Auto-adjust colors or fine-tune them yourself.
- Stabilization: If your video looks like it was filmed during an earthquake, AI can smooth it out.
Step 4: Process the Video
Once you’ve set your preferences, hit the process button and go grab a snack. AI video processing can take anywhere from a few minutes to a few hours, depending on how ambitious you got with your enhancements.
Step 5: Review and Export
Once AI has worked its magic, preview your enhanced video. If it looks stunning (or at least significantly better than before), export it in your preferred format. If something seems off, tweak the settings and try again.
Pro tip: Don’t just default to the highest settings possible—sometimes, subtle enhancements look more natural than aggressive upscaling.
How to Use AI to Improve Video Quality: Tips for Getting the Best Results
Before you run off and start upscaling everything in sight, here are a few words of wisdom:
- Garbage In, Garbage Out: AI isn’t a miracle worker. The better the original footage, the better the results.
- Don’t Overdo It: Sometimes less is more. Over-enhancing can make videos look too artificial.
- Watch Your File Sizes: Higher resolutions = massive files. Make sure you have the storage space (and the patience) for rendering and exporting.
- Use AI Ethically: AI is a fantastic tool, but don’t use it to misrepresent historical footage or alter content in misleading ways.
AI Is the Future of Video Enhancement (But You’re Still in Control)
AI-powered video enhancement is making it easier than ever to turn subpar footage into something worth watching. But remember—AI is just a tool. Your creative choices, your artistic eye, and your ability to fine-tune the output still matter.
So go forth and enhance! Whether you’re restoring old family videos, giving your content a professional edge, or just seeing what AI can do for your footage, you’ve got everything you need to make some serious visual magic. And hey, if it doesn’t work out perfectly the first time? Try again! Even AI needs a little trial and error. Check out our eBook, Battle of the Bots: An In-Depth Look at AI Marketing Tools to discover more!